
There are many reasons why an NVIDIA installation may fail, the most common being when you’re upgrading the Operating System to Windows 10. During that time, Windows Update simultaneously tries to download GPU drivers in the background, a process that takes about 10 minutes. If you try to install an NVIDIA installer failed driver inside those 10 minutes, you’ll likely get the error.
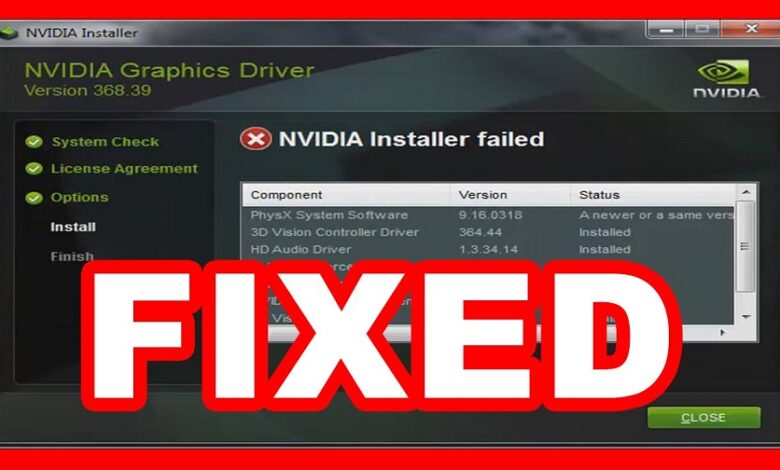
It additionally happens when an incorrect driver for the respective GPU is installed. The error shows which elements of the driver package failed the installation, and it gives an option of closing that installer dialog.
The error is common with Windows 10 PCs, but thankfully, there are ways of efficiently dealing with the problem. We will outline those methods below so that you can resume your smooth Windows experience.
If you are having an issue with opening Geforce experience after you’ve installed it,
How to Solve the NVIDIA Installer Failed Error
Fix 1: Update the Graphic Drivers
If the error is incompatible drivers, the best solution would be to update the Graphics Drivers to the newest version. You can accomplish this by either updating manually or automatically.
To update manually;
Step 1
Open the “Device Manager” and locate the “Display Adapters.” Expand the tab.
Step 2
Right-click the “NVIDIA Drivers” and choose “Update driver software.”
Step 3
On the window that appears, choose Search automatically for updated driver software.
The system will search online for any available driver updates. If they are available, they will be installed.
For automatic installation;
Step 1
Go to the official NVIDIA website. Once there, the site will automatically begin scanning your system. After scanning is finished, any drivers available for installation will be provided, or they will automatically be installed.
Fix 2: Disable your anti-virus software
Your system’s antivirus might have interpreted the Graphic driver packages as a foreign entity. If that’s the case, the installer will be blocked. It’s good to have a reliable antivirus, but it will stop any action that it cannot logically comprehend if it’s sensitive enough. To solve this problem, close the software before beginning the installation.
Step 1
Start “Task Manager” by pressing CTRL+SHIFT+ESC.
Step 2
Under the “Process” tab, locate all the running processes initiated by the antivirus and close them one by one.
Step 3
Close them by clicking End Task.
Step 4
Reboot the PC.
Fix 3: Stopping all NVIDIA processes
Many different factors can bring on NVIDIA Graphic driver error. A DLL error could easily be the culprit, but it could also be another. Also, unnecessary files in the system could be the cause of the issue. Therefore, a sensible solution would be to remove any redundant files and kill all the background processes.
Step 1
Begin “Task Manager” by pressing CTRL+SHIFT+ESC.
Step 2
Navigate to the “Processes” tab, in this task manager.
Step 3
Choose all processes related to NVIDIA.
Step 4
On each, right-click and choose end task.
Step 5
Go to C drive and remove the following files;
C:WindowsSystem32DriverStoreFileRepositorynvdsp.inf file
C:WindowsSystem32DriverStoreFileRepositorynv_lh file
C:WindowsSystem32DriverStoreFileRepositorynvoclock file
C:Program FilesNVIDIA Corporation
C:Program Files (x86)NVIDIA Corporation
Step 6
Restart the system and install the driver again.
Step 7
Choose “Custom” installation and press Next.
Step 8
Ensure all driver components are selected, and check “Perform a clean installation” and press on Next.
Fix 4: Clean Windows Installation
Windows reinstallation should be the last attempt you make. After all, methods have been unsuccessful. If there are any damaged Windows files in the system, they could be preventing NVIDIA from installing. Be sure to backup all important data and files before reinstalling the Operating System.
Step 1
After, install the driver again and restart the PC.
Step 2
Download the new compatible version of the NVIDIA driver, and install it.
Step 3
Temporarily disable all other programs, including the anti-virus
Step 4
Save the driver on the desktop only and nowhere else.
Step 5
Run as Administrator.
Step 6
Select the destination location and press OK.
Step 7
Check “Agree and Continue” to accept terms and conditions.
Step 8
Under “installation options,” choose “Custom” option and press Next.
Step 9
On the list of components, check “Perform a Clean Installation.”
Step 10
Press Restart.