
Then this is the solution you’ve been looking for. You no longer need to look all over the place for live iq subway login links. Check out this page for all of the login page links related to live iq subway login.
Why trust us?
- 100% Manually Verified Login Links
- All Active URLs
- Spam Free
Here we have collected also listed all possible methods and links for Site/Portal Login.
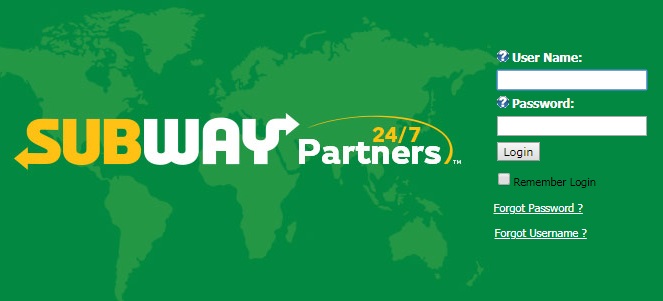
Use LiveIQ Mobile – Live IQ – Subway
Use LiveIQ Mobile – Live IQ – Subway
Start a browser on your mobile device and type SubwayLiveIQ.com into the … When the login screen appears, open your Subway Partners® user name and …
Subway Live IQ
Subway Enterprise Sign-In
Subway Enterprise Sign-In 20190103.1130.
Subway Live Iq Login-Employee also Partners – Loginguy.com
Subway Live Iq Login-Employee and Partners – Loginguy.com
Nov 14, 2019 … Welcome to a post on Subway live IQ login and register. Learn about Subway Live Iq mobile app method for partners and also how to Login to the app as …
Subway Live Iq Login
Loading… We can’t sign you in Your browser is currently set to block JavaScript. It would help if you allowed JavaScript to use this service. To learn how to enable …
The SUBWAY® Labor Scheduler on the App Store
The SUBWAY® Labor Scheduler on the App Store
Download the SUBWAY ® Labor Scheduler app now! Users must have valid SUBWAY Partners™ login to access the SUBWAY ® Labor Scheduler app.
Subway service resumes in New York City following suspensions …
Subway service resumes in New York City after suspensions …
Jul 20, 2019 … Several subway iq lines in New York City were suspended after a PC system failure. Officials warned of extensive delays on this transit …
Access liveiq.subway.com. Login
Access liveiq.subway.com. Login
We analyzed Liveiq.subway.com page load time and found that the original response time was 20 ms, also then it took 445 ms to load all DOM resources and …
The SUBWAY® Labor Scheduler – Apps on Google Play
The SUBWAY® Labor Scheduler: Apps on Google Play
The SUBWAY® Labor Scheduler is an online Labor scheduling management tool for SUBWAY® franchisee employees to provide them with simple …
HAVING A PROBLEM OR WANT TO SHARE YOUR REVIEW?
Us ARE ALWAYS HERE TO LISTEN AND SUPPORT YOU GUYS WITH LIVE IQ SUBWAY LOGIN.
Post your query OR Review in below comment box. We’ll surely reply to you within 48 hours.
You can also review another article Write For Us Technology