
Android is without doubt the most common mobile operating system nowadays. In contrast to any mobile OS, Android offers users much more flexibility and adaptation choices, however if any other mobile OS that can compete hard against Android is iOS.
Like Android, the availability of the app is also very high on iOS. Only look at the iOS app store and you’ll find applications for every reason. Often on our machines or on your desktop we want to run those applications.
List of the top 10 iOS emulators on PC for running iOS Apps 2023
Well, iOS has not been built-in to replicate PC apps, but you can still emulate iOS apps on Windows or MAC computers using iOS emulators. In this post, we will share some of the best iOS emulators to help you run iOS apps on your PC.
1 Emulator Air iPhone
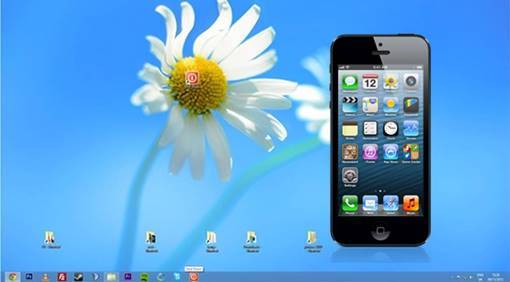
This is a favorite simulator because it is simple and user-friendly. This is an iPhone GUI Adobe AIR program on your PC. For this application, you just need the AIR framework to function. The sole aim of AIR iPhone is to emulate the mobile user interface. I can think about this program for many purposes.
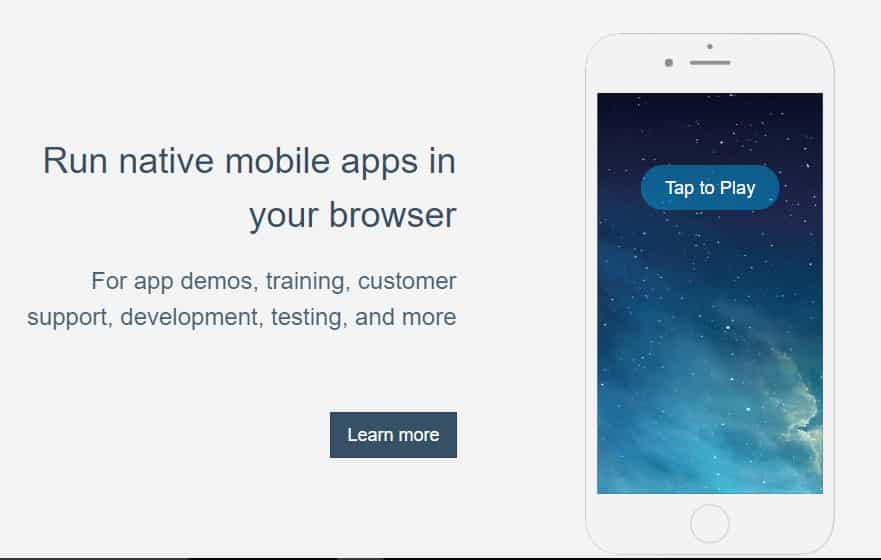
2. Emulator iPadian
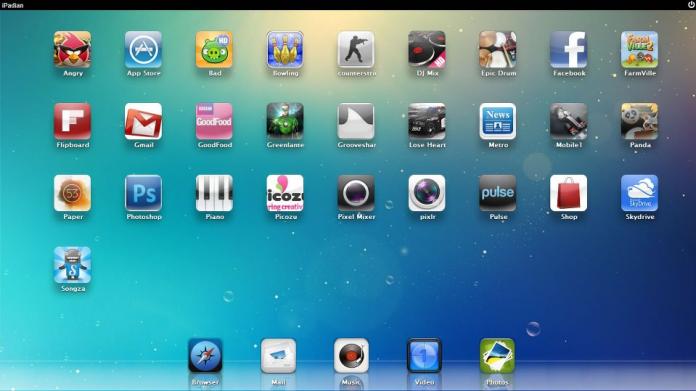
This is one of the best iOS emulators for your Windows PC, which enables you to run your iOS apps easily on your PC. This is also very well known and has high user reviews as well as good download speeds. So you have to try this fun tool to run your ios on your Windows PC.
3 App.

App.io is one of the easy apps that can be navigated very quickly. You don’t have to have any custom code. You just need to sync your iOS app pack with your App.io, and then you can conveniently stream your software from Windows PC, Mac, Tablet to Android with an app.io to any of your cloud storage devices. Best app for Windows 10 to run ios applications.
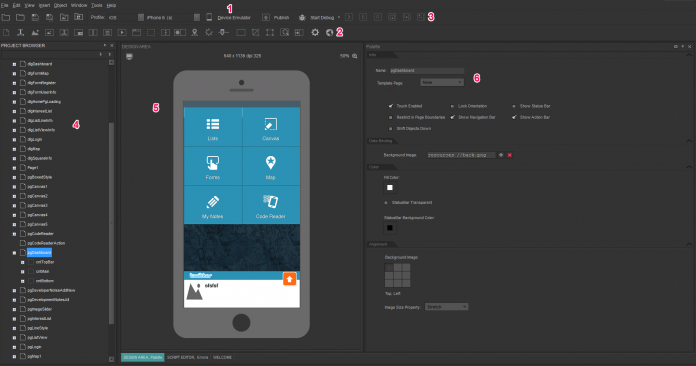
4. MobiOne Store
This is another great tool focused on the cross-platform concept of running iOS apps on Windows PC as well. MobiOne Studio is a tool focused on Windows for developing mobile cross-platform applications for iOS and Android platforms. Try this fun tool, and you can easily use your favorite iOS program on your PC. The common HTML5 hybrid-native app model uses the open-source Cordova/PhoneGap system for MobiOne cross platform applications.
5. SmartFace
Well, Smartface is an application that develops software and also allows you to emulate iOS free of charge. After you’ve emulated iOS, you get to use the basic feature and build unlimited apps free of charge. Smartface’s primary aim is to test iOS applications in various iOS environments. This is the easiest application to download ios software on your PC.
6 The.io appetize.
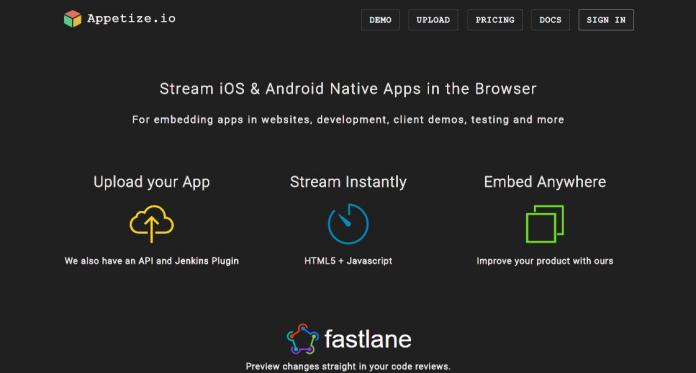
Appetize is another great iOS emulator online that functions nearly like an offline emulator. Most of it is a free simulator that supports the Adobe AIR system. You must now press Upload on the homepage after you have launched this program to start emulating iOS apps on your screens.
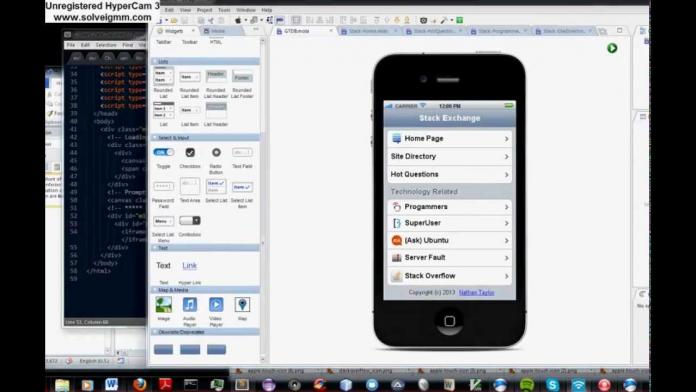
7. Mobile Electric Studio
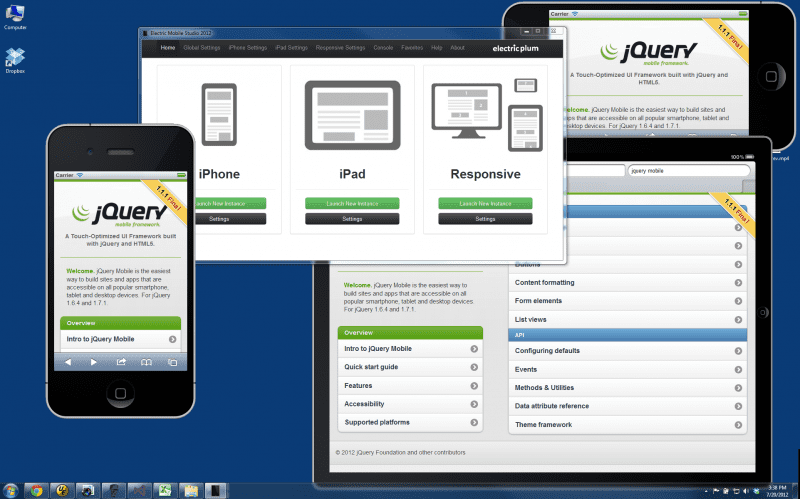
Well, Electric Mobile Studio is yet another best emulator to help you run iOS applications on Windows devices. It’s a premium app though and the packages are pretty pricey. Electric Mobile Lab, however, offers a number of features that can also enable you to create iOS applications. However, you can use the 7 days free trial for emulation.
8. Stimulator for iPhone
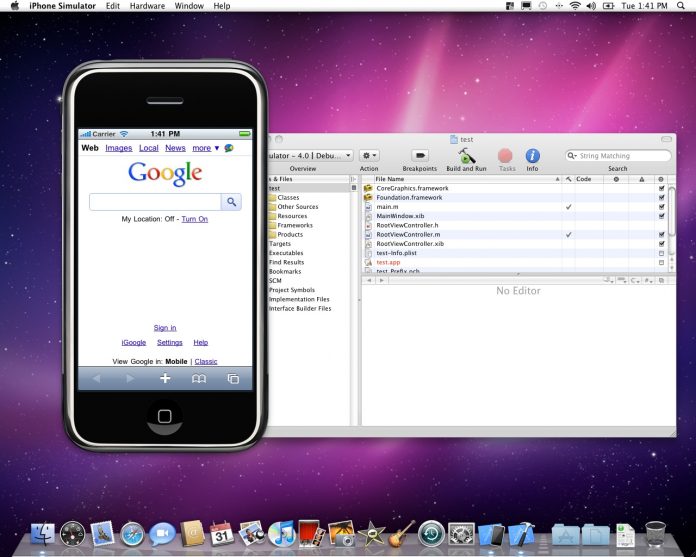
iPhone simulator is ideal for people who need to build a virtual iPhone in minutes on their screen. You’ll see the actual iPhone on your desktop. However, if you need to test an app, you are frustrated that it has no access to the App Store. Default apps like notepad, clock, calculator, etc can be accessed.
9 iPhone Air

Well, Air iPhone is not an Android emulator in fact; it’s more like an iOS stimulator. Air iPhone produces an on-screen interactive iPhone. You can test your apps and games on the virtual iPhone. So, Air iPhone is another decent way to run iOS apps in Windows.
10. Appetize.io
Well, Appetize.io is one of App.io’s best alternatives, described in the post. Appetize.io is nice because it helps developers to test Android and iOS apps. Appetize.io isn’t free, however it offers 100 minutes free use and then $0.05 per minute is charged. Appetize.io is therefore another best iOS emulator for your PC.
The best iOS emulator for running iOS apps on a PC is above. You can test all the emulators on your Computer one by one and then select one to make use and run your favorite iOS program on your PC more convenient and user-friendly. I hope you like our work, share it also with others. Leave a comment below if you have any questions.