

Do you understand what MamaHD stand for? If you don’t already know, let me tell you about it. MamaHD is a free live streaming platform for all users, similar to Twitch live streaming software. If you’re wondering about what you can watch on it, it features a variety of sporting events including racing, basketball, football, and more. The best part about our website is that anyone can use it, regardless of whether they’re on a mobile device or a PC. You don’t need to download an app; simply go to the website on your PC and watch any shows you like.
By the way, what annoys users the most is the lack of download capability on these streaming websites. As a result, we took this into account and devised a solution for you. You can enjoy your favorite events from these websites using a 4K Video Downloader. Simply copy and paste the event link from one of these websites into the 4K Video Downloader, and the download will begin. You can convert the format of these videos in advance with Jihosoft Video Converter for better playback on multiple devices. It can convert videos to 3GP, AVI, FLV, MOV, MP4, M4V, MPEG, MKV, RMVB, TS, VOB, H.264, HD WMV, DivX, XviD, and other popular SD and HD formats.
You’ve been losing out on a lot if you’ve been relying on just one site for a long time. There are many websites that are similar to MamaHD, and they are also great locations to obtain content for different types of movies and TV shows. Following that, we’ll provide you with a list of 20 alternative websites to MamaHD in case some of them fall down.
Top 20 Best MamaHD Alternatives To Stream Sports Online
In this article, you can know about MamaHD. here are the details below;
The site allows you to select the game you want to watch from a list to find streaming streams. MamaHD, like others, makes use of current events news to make it better.
Unlike most streaming sites, it also has a chat feature that allows you to communicate with other fans from across the world and discuss their thoughts. Mama HD sports is a fully free service that you may access from anywhere in the world.
MamaHD Alternative to Stream Football Live
This is a list that also offers MamaHD best as an alternative to this channel. This website also has a lot of streaming football and other sports matches.
Best Alternative Of Mamahd
1. BatmanStream
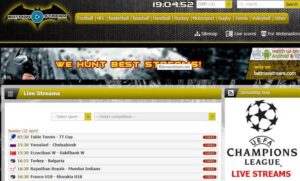
BatmanStream offers you with an extensive set of sport streams presently offered in any country, as well as broadcasts scheduled to begin the next day. And, as always, if you want to watch a specific sports stream, make sure to select it from the category section. MamaHD sports has already provided a plethora of streams, and now it’s time to check out Batmanstream.
2. LAOLA1.tv
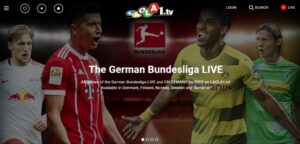
If you are a football fan, you should check out this website called Laola1. It has all of the streams related to football, including matches, news, videos, and everything else that might help you get that fantastic sensation for the sport. If you see something specific about football sports, try searching for it using the site’s search box, and hopefully you’ll find it on Laola1.
3. Stream2watch

Stream2watch one of the first sites to offer free live sports streaming. And if you’re a sports fan, you won’t want to miss this website. You can browse all of the main sports categories, and it will tell you when the matches will be tv live. Live sports are always available at Stream2watch, which seems to be very similar to MamaHD.
4. Firstrowsports
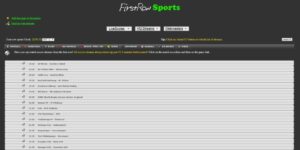
FirstRowSports is one of the oldest sports streaming sites, offering a wide range of popular sports to watch. This website, as one of the oldest sports streaming sites, contains almost everything you can expect from a live sports streaming site.
5. VIPBox
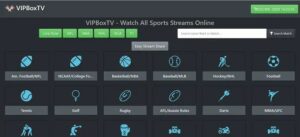
VIPBox is another site similar to MamaHD that allows you to watch sports online. When it comes to the interface, it’s really quite amazing, and you can choose from a range of games to watch live matches of. Football, basketball, hockey, UFC, WWE, table tennis, and a range of other sports are available.
6. Feed2all
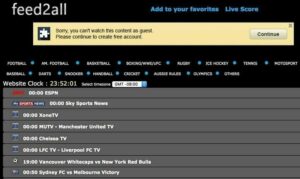
Feed2all is a great sports streaming site. Every sport on the list would provide you with all of the mirror links so you may watch the stream right away without having to spend a thing. At Feed2all, you may also stream in High Definition without interruption. You will, however, require great internet. Streaming sports in HD will not be possible otherwise.
7. StrikeOut

StrikeOut has one of best user interfaces among sports streaming platforms. Sites. You may watch your favourite sport in HD live streaming. Every sports feed will include mirror links in the event that one of the streaming links fails. As a result, if you like a dynamic and appealing interface, Strikeout is without a doubt one of the best alternatives to MamaHD.
8. SportLemon
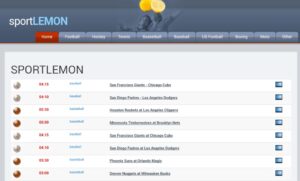
Sportlemon is a great alternative for Fromhot. It’s nearly identical of interface, content, and so on. Who knows when you’ll need an alternative, though! So have Sportlemon at the top of your to-do list at all times. Sportlemon allows you to watch tennis, football, boxing, baseball, and a range of other sports online. This site also provides you with a great opportunity to learn about new sports that you may not be aware of.
9. ScoresInLive
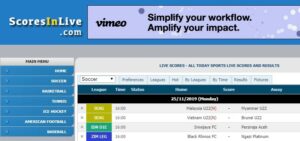
This website can be a great source for sports fans, but only if you are willing to glance at scores and other information quickly. But, if you want to watch a stream, it is possible that it will take longer, therefore in that case, you should have ScoresInLive on your side. This site provides you with daily scores and results that you want to view in your hectic schedule. &, of course, you may filter the scores and results based on your favourite games.
10. BOSSCAST
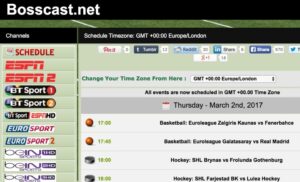
If you want to watch sports live streams, the BOSSCAST site is the place to go. BOSSCAST provides high-quality sport live streaming, which is the most crucial factor. It’s completely free. BOSSCAST isn’t concerned in your hard-earned cash, so you can spend it on whatever you choose. There is no need for a credit card. You can also watch different sports channels to see what’s going on in them.
11. VIPLeague
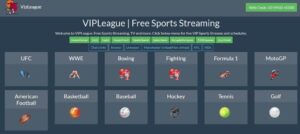
Vipleague is a great sports streaming site with an user interface that is very similar to FromHot. Once you’ve chosen your preferred sport category, it’ll show you all of the streaming alternatives available in that category, along with all of the links you’ll need to watch the stream.
12. StreamHunter
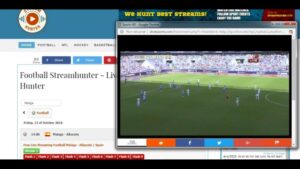
This website is all about streaming, as the name implies, but not all sorts of streaming. StreamHunter is solely committed to providing live sports streaming. When you use Streamhunter, you can always watch high-quality sport live streams from your PC at work or from your smartphone or tablet when travelling.
13. Ronaldo7
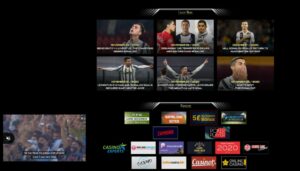
Are you a football fan? Are you a fan of Ronaldo as well? Then you’ll enjoy this website since that’s exactly what it’s about. Ronaldo7 allows you to watch all of Ronaldo’s matches in real time. Along with all of the streams, you’ll find lots of Ronaldo’s most recent photos, videos, and news in the image gallery.
14. FromHot
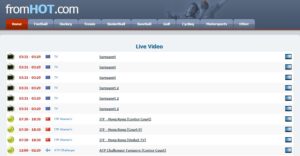
FromHot is one of the better sites, with a large database chock-full of live sports streaming from a variety of genres. Its front page displays a schedule of future sporting events. But, if you want to watch a certain sport, you must first select it from the category section. FromHot is one of the best sites similar to MamaHD and can definitely be used as a MamaHD alternative.
15. Streamwoop
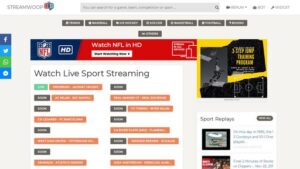
Streamwoop is a website where you can watch online sports, free live sports streaming, and even replays of various contests, as the website suggests. If you run a sports-related website, you may use streamwoop’s widgets to add a stream widget to your site.
16. goATDee

goATDee is not as great as many sporting activities streaming and live sporting activities channels viewing platforms. But, it is still the best choice to have in situations where various other options are not working for you.
goATDee allows its users to viewed the information and also amusement video clips free of cost. The internet site is contacted us to be among the largest sports streaming sites over the internet. For the people of the US, goATDee is among the very best options to enjoy.
Nonetheless, the people outside the USA may not locate it suitable for their requirements. The primary user interface of this website is very easy and user-friendly. It is not jumbled with way too many alternatives in any way MamaHD boxing nba. Only uncomplicated sports networks and also ongoing real-time matches are presented on the primary internet site.
17. MyP2P
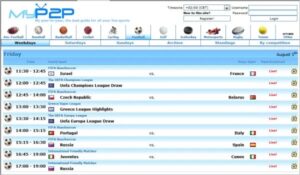
Watch online sports events anytime, anywhere, on any device. MyP2P is a free online sporting activities streaming website that allows you to enjoy your favored sports occasions at a premium. The website’s interface is quite appealing and smooth, and all the streaming you will obtain right here is free.
Unlike many internet sites, it also uses several sports categories like Tennis, Football, Football, Baseball, Boxing, MotoGP, and so on. Each classification has its networks to explore and steam.
MyP2P most noticeable feature includes 100% free for everyone, a simple interface, work on nearly all internet browsers, search bar, upcoming scheduled events and check out sports news, and so on. Unlike MamaHD and all the other preferred real-time streaming applications, it likewise offers a chat function that permits you to interact with various other streamers worldwide anonymously.
18. StopStream

StopStream is a unique system for those who want to delight in a real-time sports event. It is one of the most exciting live sporting activities streaming sites that bring some sporting activities networks that you can conveniently access anywhere all over the world on any device.
The website offers a back tinted tidy interface where you can quickly find your favored sporting activities channels and known about all the upcoming sports occasions. Unlike CricFree and all the other comparable sports MamaHD sites, it additionally supplies several sporting activities categories. These groups will certainly help you to locate your favorite channel conveniently.
Additionally, a real-time chat function allows you to communicate with other cleaners worldwide and review their opinions. StopStream is a 100% complimentary streaming site, and you can enjoy it anywhere over the globe.
19. fuboTV
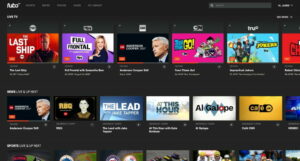
fuboTV is an internet site committed to seeing real-time matches and enjoying DVR live sporting activities and TV networks online. It is the leading online sports streaming and web TV solution focusing on networks that disperse global football and other sports, games, and other news and entertainment things.
fuboTV is offered in the form of a website and can be accessed as an online service from the main website and using a large range of Mamahd video clip players. The website likewise uses numerous service choices with different network lineups that make it much better than others. The one restriction of fuboTV is that it is not commonly offered in all countries.
Being a United States-based site, it supplies its services in the United States territories. Maybe you open this site, and you see the notification displaying the content of this sports website is presently not readily available in your area.
20. BossCast

BossCast.net is a most prominent real-time sporting activities streaming site that permits you to see all your favorite sporting activities occasions anytime, anywhere, also on any tool. The site features greater than 130 world’s ideal streaming channels, that means you can take pleasure in all your favorite sports event at the same time.
It also has an enormous list of categories such as Football, Hockey, WWE, Soccer, Boxing, and so on. Everyone has its networks to stream and also watch. The very useful thing about this site is that it supplies to boost the scheduling system and schedule all sports events daily.
There is also a chat right where you can interact with other banners worldwide, share pictures, and link much different stuff to supply a total conversation experience. The site’s interface is remarkable and requires enrollment with an email address, password, and various other relevant things.
After completing the enrollment, you can appreciate all of its functions. An essential feature consists of supporting numerous languages, scheduling all occasions, assisting many time zones, user-friendly user interface, and much more.
Check Over Other Articles Like
- Best Free Sports Streaming Sites
- Best CricFree Alternatives & Similar Sites
- Top 20 Best Atdhe Alternatives To Sports Streaming Sites
- 15 Best Sportshd.me Alternatives To Stream Watch Sport Online
- Top 15 Best 12thplayer Alternatives To Watch Live Sports Online
Final Words:
These are all best MamaHD alternatives that you may find on the internet. And, as you may know, the largest of above sites are not allowed to distribute streaming content without owning the copyright to it, which is why all of these sports broadcasts are available for free. As a result, these MamaHD Alternative websites may be taken down at any time, but we will do our best to keep this MamaHD Similar list up to current.