You must be looking for the best free mmorpg to enjoy in 2023. There are several free best mmorpgs, but we will bring our users the best mmorpgs to play in 2023. There are all brand new MMORPGs for players to try out.
What are MMORPGS (Massively Multiplayer Online Role-Playing Games)?
MMOs offer players a sense of autonomy by allowing them to traverse vast open worlds, participate in hundreds of side events, conquer spooky dungeons, and complete epic quests—all while being surrounded by thousands, if not millions, of other players.
There are a lot of good MMORPGs out there, but if you’ve never played one before, it’s best to start with a free one before going on to the more expensive ones. So, if you’re new to MMORPGs and aren’t sure where to start, here are some of the best free MMORPGs to try:
What Does MMORPGS (Massively Multiplayer Online Role-Playing Game) Mean?
A massively multiplayer online role-playing game is a computer game that combines features of a role-playing video game with a massively multiplayer online game (MMORPG).
EVE Online
Sci-fi MMORPGs are the genre of this game. While EVE Online is known for its hardcore player base and steep learning curve, 2020 is better than ever. The graphics are of high quality, and the model is either free to play or pay to play. Few games come close to satisfying the itch of a sci-fi sandbox like this one, despite the MMO’s intimidating nature for newcomers.
Star Conflict
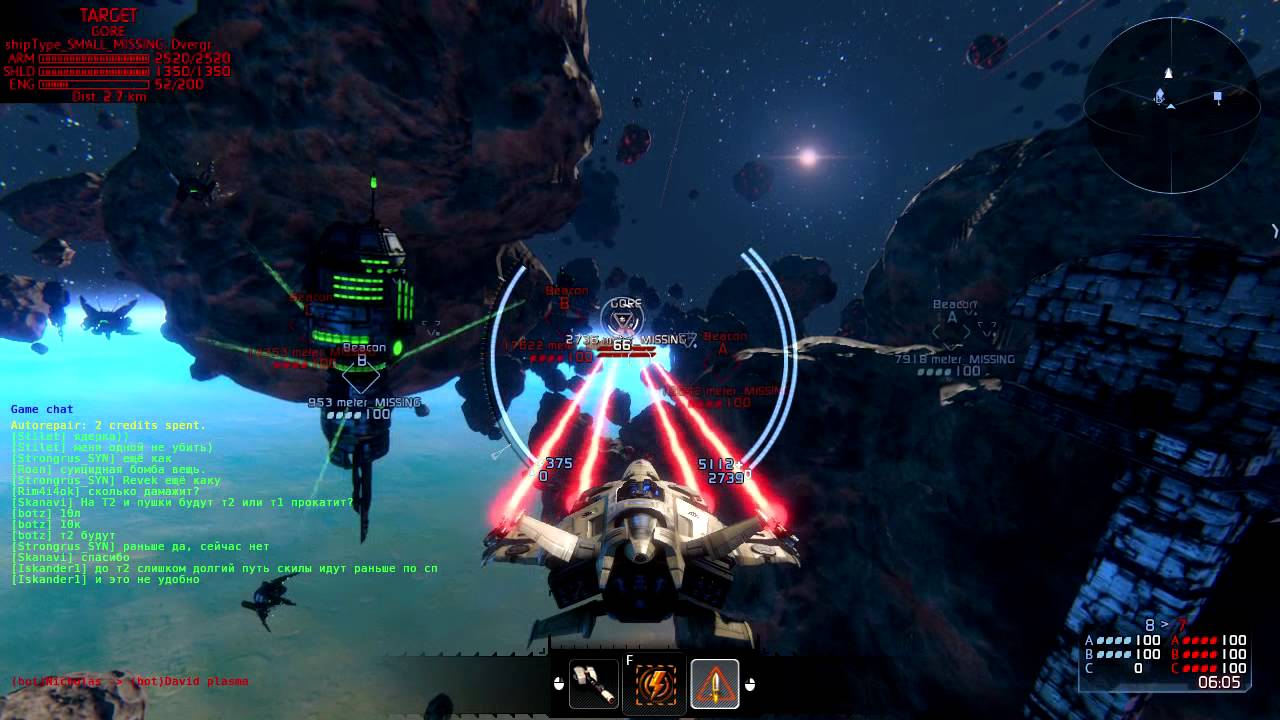
While PvP remains a constant threat in the vast emptiness of outer space while floating around in your space ship, the game’s PvE quest line takes you to a series of various quests and attacks, where you must combat alien groups or space rangers, while PvE remains a constant threat in the vast emptiness of outer space while floating around in your space ship. SteamOS, Linux, Windows, and iOS were all supported in this game. The game also includes a variety of customization options organized in a tech tree, as well as a variety of weapons and ship modules that can be used to improve your spaceship.
Lord of the Rings Online
Mmorpg games may not be as well-known as World of Warcraft, but Lord of the Rings Online (LOTRO) is a long-standing best mmorpg games with a 13-year history. The game, which takes the form of a captivating, story-driven mmorpg, brings Tolkien’s lore-rich fantasy world to life. With the model P2P/F2P, this game has the best graphics.
MapleStory 2
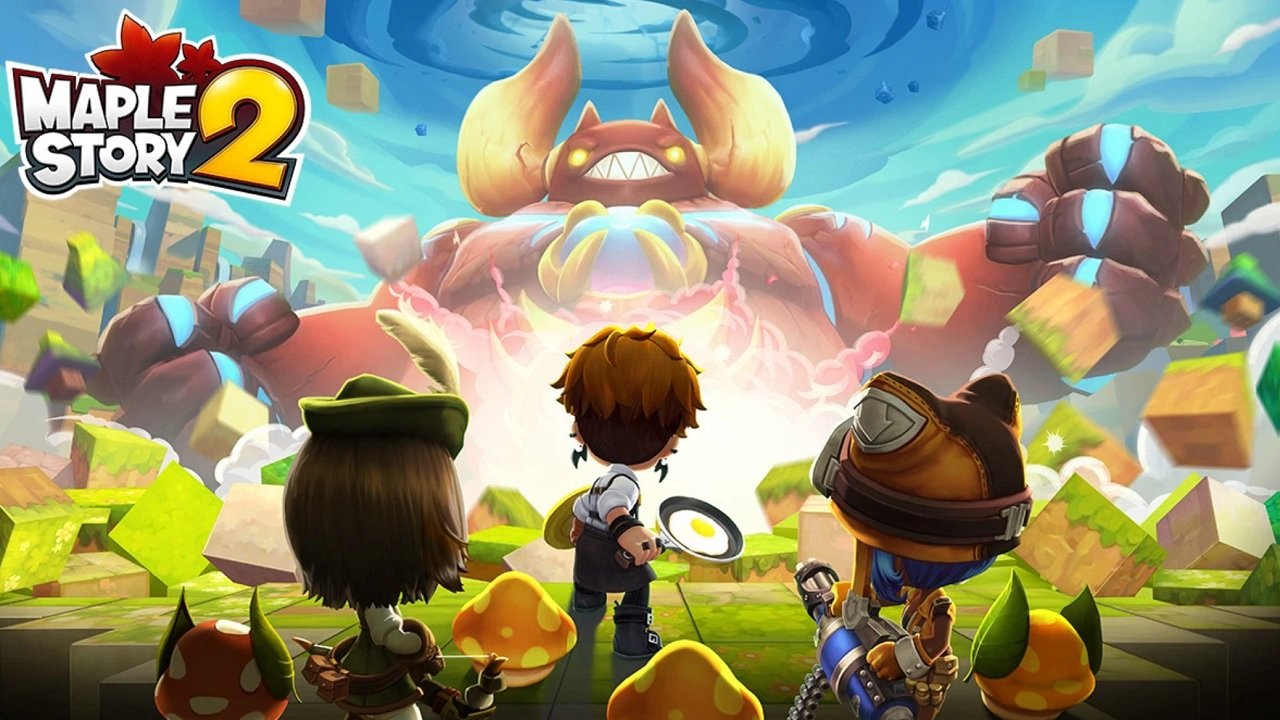
MapleStory 2 is another fantastic mmorpg that stands out from the crowd thanks to its unique low-poly graphics and vivid interface scheme. This game is only compatible with Windows. MapleStory 2 also allows players to venture out with their customized characters into a vast open world and interact with other players from all over the world, much like most other mmorpgs.
RuneScape
OSRS and RuneScape 3 are also available on both Android and iOS platforms. The model is a free-to-play (F2P) or pay-to-play (P2P) model with excellent graphics. While we wouldn’t endorse playing more hardcore content in this style (such as raids from RS3), it’s a fantastic way to pass the time when doing general, low-intensity ability or monster grinding.
World of Warcraft

For those of you who are unfamiliar with World of Warcraft, it is a game that is synonymous with the mmorpg genre and provides players a massive, ever-expanding universe full of content to discover. Both Windows and iOS devices are supported in this game. All of the ingredients of a good mmorpg can be found in the game, including excellent customization, a dedicated open structure, a thrilling storyline, and massive raids.
Neverwinter
Dungeons & Dragons Online, which strives to stay closer to the tabletop game on which it is based, and Neverwinter, a free-to-play MMORPG that takes longer queues than its own source material from other free mmos, are the two main alternatives for players in Neverwinter. With standard graphics display, the model is F2P or P2P.
Guild Wars 2
In comparison to World of Warcraft, which can feel like a grind at times, leveling up in Guild Wars 2 is far more fun thanks to the deep action-based mechanics. The game can be played on both iOS and Windows platforms.
This MMO is completely free to play. The game is a must-have for someone who dislikes the monotony of leveling up in other MMORPGs.
Star Wars: The Old Republic
Star Wars is around normal. At its heart, SWTOR does not stray too far from the conventional MMORPG formula.
There are raids, dungeons, fetch and conquer missions, and the battle structure is similar to that of World of Warcraft. It uses a free-to-play (with restrictions) model. It does, however, have a few unique ideas that make Warcraft World, LOTRO, an exceptional experience, especially when it comes to storytelling.
The Elder Scrolls Online
There are trades to enter, homes to buy, and you can join other teams, but it doesn’t do much except provide you with an XP boost while you play together. Tera, Black Desert Online, and Guild Wars are all B2P games with a mostly cosmetic focus (Pay once). The game, like many others, is free to play, so you have nothing to lose by giving it a try. But for a significant amount of hard disk space, ESO is a very large game.