Internet is one of those necessities, which we cannot live without. It has become an essential part of everyone’s lives because multiple activities rely on it.
Whether we move to a new location or buy a new house, the first thing that we do is install internet and that totally makes sense.
When people order internet services, they usually ask for professional installation because they think that it’s really hard to install services even if the only thing required is to connect the cables.
The telecommunication companies charge a good amount of money for professional installation. This guide will help you out in not only making the installation phase easy but also in saving a handsome amount of money.
Sign-up with an Internet Service Provider
The most important and the very first thing to do is to get yourself signed up for internet services through any internet service provider.
You can do your research and find out which internet service provider is the best in that specific area. While doing so, do consider factors like customer service, data cap, equipment charges, and the contract terms if any. Otherwise, you can have a look at some of the most widely available and good internet service providers, and look out what they have to offer in that area.
If you are looking for availability of internet service providers in your area, you can just go to google and type ‘internet near me’ and multiple websites will pop up on your screen. Visit any website and put in your zip code, all the companies providing internet services in your area will show up.
However, if you want to check the availability of a specific service provider in your area and want to visit the company’s store, the process is slightly different. For instance, if you want to locate Spectrum store in your area, you can go to Google search engine and type Spectrum internet near me or Spectrum near me. The company’s store locater page will come in search results. Go to the page and put in your zip code. You will find out all the details regarding the store there, including the store’s schedule, address and contact details.
You can either visit the store, sign up for the services, or get the equipment. You can also do all this online and the company will ship the equipment to your address.
Set Up the Modem
Once the internet connection is active from your service provider’s end, the next thing to do is to set up your modem. The technology of the modem might differ based on the type of connection you are getting, but the basic process is the same.
Simply plug the modem with the internet port in your house. After that, connect the modem’s power cable to a power outlet that is nearby.
You will start seeing different lights on the modem. After that, call your ISP and make sure the connection is active from their end as well. They can ping your modem and verify if the connection has been established.
Connect Your Router & Configure it
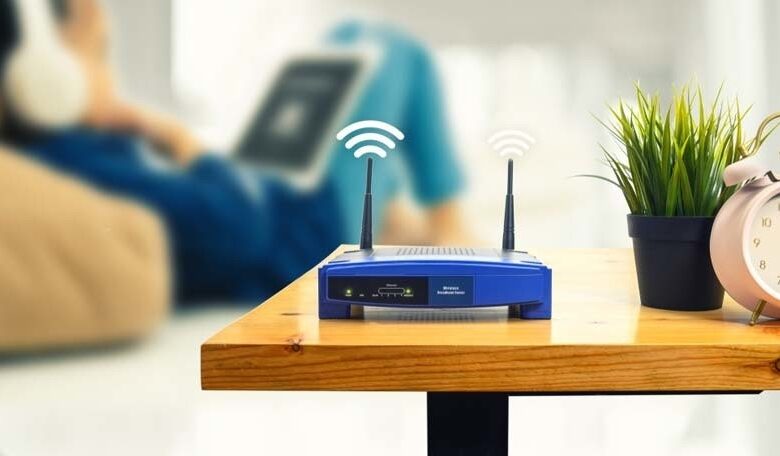
Most of the modems these days come with a built-in Wi-Fi router. However, in case you are using your own modem, you might have to get a router separately. So now, if your modem connection has been successful, it is time to set up your router so you can connect your wireless devices to the internet via Wi-Fi.
For that, plug the Ethernet cable that comes with the router into the backside port of the modem, and connect your router to a power source. The internet light on the router will turn on and the Wi-Fi light will start flashing. That means your home network is ready and you can connect your devices.
After this step, the next step is to configure your Wi-Fi router’s default settings and set up a unique name and password to keep it secure. To do so, plug your laptop with the router using an Ethernet cable, and enter your router’s default IP address (which is mostly 192.168.1.1) in your browser’s search bar. After that, enter the username and the password of the router to log in.
If you don’t know the IP address or the username and password, check your router’s back or instruction manual for this information.
After logging in, go to settings and change the “Network Name” and the “Network Password” to keep your network secure. Save your settings after that and you will be good to go.
Connect Your Devices
Now, the final step in this process is to connect your devices, which can be done both wirelessly and, via the Ethernet cable. If you are working from home or playing video games using a console, it’s better to plug these devices using the Ethernet cable. Otherwise, the Wi-Fi would work as well, but there can be signal issues.
For an Ethernet connection, simply plug the Ethernet cable in the Ethernet port of your router and your computer or the device you want to connect.
For Wi-Fi, open the Wi-Fi settings on your wireless device and look for the name you just chose for your network. Enter the Wi-Fi password after selecting that name and give it a few seconds to establish the connection.
When the device is connected, open your browser and search for anything to make sure the internet is working. It’s working? Congratulations, you have successfully done it.
Conclusion
The process of installing the services on your own isn’t as difficult as it seems, right? By doing self-installation, you will be saving a very good amount of money, and it’s good to do things on your own. In the future, if you want to switch your service provider, you won’t have to go through the installation process again. If you know how to do it, it’s just going to be like any other activity for you.


