

Nearly all of the most well-known Manga books may be purchased on the famous website BookWalker. Additionally, this website enables people to order comics before they are released. Anyone who creates a free account on the Book Walker site can quickly download free Manga ebooks.
The interface of the BookWalker game website is lovely and straightforward. Manga ebooks can also be found in great numbers on BookWalker. On this site, it’s easy to find both recent and vintage Manga ebooks. Additionally, all available Manga comics in various file formats are simple to download.
Best Alternatives to BookWalker
Here is a list of the Best BookWalker Alternatives, all of them are available for free and have excellent manga comics:
1. MangaDex
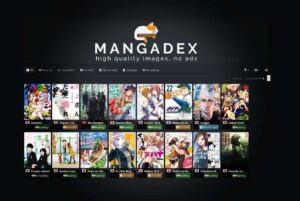
Manga Dex offers several publications. Getting to Manga Dex’s manga magazine database is easy. Just select the manga dropdown menu from the homepage to access options such as titles, updates, search, features, and random. An awesome feature is the ability to add manga magazines with the add button. In the community section, you can make groups and active forums. You can also post manga updates to social media sites like Twitter and Reddit. BookWalker global is an example of a manga site
.Manga Dex offers several publications. Getting to Manga Dex’s manga magazine database is easy. Just select the manga dropdown menu from the homepage to access options such as titles, updates, search, features, and random. An awesome feature is the ability to add manga magazines with the add button. In the community section, you can make groups and active forums. You can also post manga updates to social media sites like Twitter and Reddit. BookWalker is an example of a manga site.
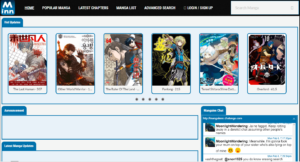
2. Manga Reader
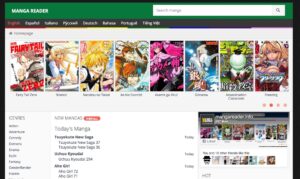
Manga Reader websites are the most popular Book Walker alternatives for people of all ages. Based on its age, you can discover manga. Japanese manga is incredibly popular among people of all ages, from children to adults. Here, you may browse a massive selection of manga with English translations and discover otaku culture. The newest, most popular manga books are constantly added to Manga Reader. The manga reader has a practical search feature. You can get the most recent, most popular manga volumes and your favorite manga magazines.
3. MangaTown

In addition to the popular manga comics, recent releases, and a manga directory, Manga Town is also a top BookWalker substitute where you can find a variety of genres. You may read all your favorite manga comics online without registering. User can find over 15000 manga and manhwa series on this website in HD resolution, including Naruto, Bleach, One Piece, Air Gear, and more. You can search by alphabet for free manga online. Manga and comics of your choice are easy to find.
4. MangaHub
The most recent manga is available on the website through Manga Hub. Every manga on a website can only be viewed after logging into your account. You can search manga by Directory, Popularity, and Updates. Daily manga are released. The manga site has a large database that you can search for your best manga. In addition to reading, you can download whole manga chapters that have been dubbed and subtitled on the site. In addition to receiving the latest news, you will also receive the latest manga business updates. BookWalker substitutes like this are among the best.
5. KissManga
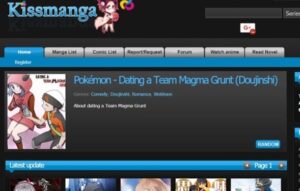
In addition to manga, KissManga is the best BookWalker substitute for erotic manga. The files for manga and comics are separated into categories. All genres of manga and comics are available here. The most recent manga series are accessible for free on KissManga. Chapters can be read attentively
6. MangaStream
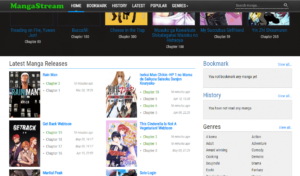
The newest manga is available on MangaStream. In order to read your favorite manga, first sign in or log in. To begin reading it, choose the manga you want from the navigation menu. The best alternatives to BookWalker free manga are websites like these that are looking for writers and designers. Find the manga you like by searching the list of complete manga.
7. MangaPanda

You can read manga comics online at Manga Panda, a BookWalker substitute. Fairy Tail 546, One Piece 907, and Bleach 687 will soon be available on Mangapanda.com. Additionally, there is a huge library of English-translated manga comics available. You can read popular manga and otaku up to the most recent release and Japanese comics as well. Comics come in a variety of genres, such as action, adventure, mystery, romance, thrillers, and many others.
8. Nine Manga
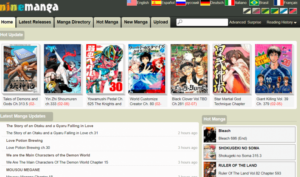
Having a top substitute website for BookWalker is an excellent way to read manga online for free. To find out which book is best for you, you must read each book first. Keeping track of specific novels and reading them as new chapters are released would be helpful if you also kept a reading list. In order to avoid getting bored in the middle, choose a book based on your interests.
9. MangaFreak
Among the best manga sites is manga freak. You can read and download manga for free right here. Simply click on manga to access the most recent manga list. This website has a variety of genres, and you can find excellent manga novels in each of them. The best part is that the manga fanatic preserved the history and made it possible to find any manga by simply navigating to the past. When you can’t find what you’re looking for without spending money, use the search box.
10. Mangago
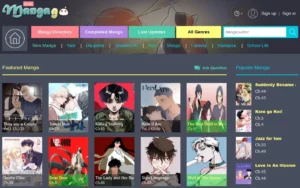
For reading complete, brand-new, and the most recent manga, Mangago provides the best user experience. There are several genres covered in the manga, including adventure, drama, horror, and action, as well as romance, school life, Yaoi, Doujinshi, Shounen Ai, Yuri, Shoujo, and fantasy. By selecting the manga, you can read the renowned series chapter. You can read all of the hottest manga releases on these BookWalker drm alternatives websites free of charge.
11. Renta

The Renta platform, like most great BookWalker alternatives, lets you spread manga all over the world. Renta is one of the best manga online vendors. Renta has manga for sale and for rent. It is possible to read the ideal manga to stimulate your imagination. If you rent it out, you can upgrade if you read it frequently. . Manga books are all licensed and acknowledgeable.
12. MangaInn
Among the best manga reading sites is Mangainn, which has a chat feature with manga readers. You can interact with other manga readers while reading online books and discussing individual chapters. For the latest news, visit Mangainn’s daily update area. To read the latest manga chapter for free online, you must first register. It is one of the top replacements for BookWalker kobo. The latest details regarding upcoming programming.
13. Viz
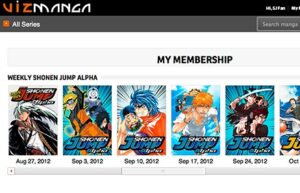
Providing manga novels to people of all ages, Viz has been offering booklive BookWalker app alternatives for over three decades. They have some of the most well-known anime brands. They also provide information about the most recent books and what frustrates and pleases readers.
14. MangaHere
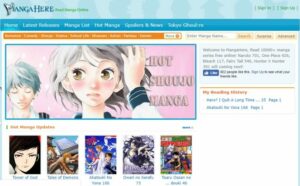
Manga You may read the whole manga series on our great manga website. Spoilers and manga news are available on Mangahere. Cc. On this fantastic website, you may download free manga magazines. Open for the excellent manga books you’re looking for by selecting the rating tab. Each manga book is well-liked, and its fascinating material is scored out of 10, despite the availability of a mobile application to download and view the history of your manga. Sites like BookWalker are examples.
15. MangaFox

In Manga Fox, you can find the most recent and popular manga genres. You can read manga for free at mangafox, which includes action, comedy, drama, fantasy, romance, school life, shounen, and shoujo. It is possible to download free manga for your iPhone, iPad, or Android phone if you register or log in. The most recent manga releases are available, but you must register or log in to access them. There is also a mobile app available. It’s also one of the top BookWalker substitutes.
16. Manga Rock

Because every manga and television series content is available on Manga Rock for free, it differs from other websites. You can access a variety of genres with only one click on the WIKI icon. Authors and manga characters can be found here. You could read your favorite character with ease. You can hunt for a specific manga author or symbol using the search bar tool to see results. Large navigation bars and prominent genres are indicators of manga. You must create an account to start reading manga. It resembles twitter BookWalker 2ch.
17. MangaDoom
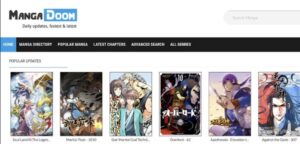
MangaDoom offers a wide variety of manga publications and animationIts manga directory is where you may find the best manga. Additional search tools are available to locate specific manga and anime series. Every day or as soon as the most recent manga is available; Manga Doom has regularly updated the new manga.
18. Read Comics Online
You may read various comics online on the website readcomiconline. Me. There is a comprehensive list of comics and vocabulary entries on this top BookWalker substitute website. A wide variety of recently released comic comics and comic book series are included in this extensive list. On the other side, as fresh comics are removed, the New comics category gets updated. Additionally, you can read the newest comics at no cost.
19. SenManga
The newest and most recent manga novels are available from Sen manga. You must first register for a website account to read and download the latest updated manga. Most recently uploaded, most popular, and manga of the day are the order in which the categories are displayed. The series list is straightforward to find on Sen Manga. You can alter almost anything by adding your preferred episodes and chapters. It is one of the best sites to replace Book Walker.
20. MangaKatana
Another user-friendly website to read free online manga is Manga Katana. Your favorite titles are easy to find. The manga on the website was updated hourly, which is fantastic and unquestionably the most recent manga of all genres available. Manga Katana is the best place to start among the Book Walker alternatives if you’re looking for new manga.
21. ComicExtra
You can read whole comics on the well-known comic website Comic Extra. You may find a wide variety of comic books and animated series on these top Book Walker alternatives websites. The most famous comic book publishers are DC and Marvel. Additionally, you may read and download many anime series, so you might find what you’re looking for. Find your preferred comic book or cartoon here.
22. MangaPark
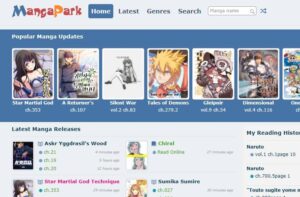
Another website where you may read manga online is Mangapark. You must create an account and log in before you can read the manga on this website. These Book Walker substitute websites provide a range of genres as well. You can find the book by utilizing the search option for the genre. The page themes on the website are editable. Please keep a note of your favorite manga and refer to it as needed.
23. MangaKakalot
MangaKalakot is a well-known website where you can read manga for free online. This site features the newest manga, popular manga, upcoming manga, and finished manga. Each manga is released one chapter at a time; click the link to access a chapter. There is no need to band together. You can choose any manga series and read it for free.
24. Bato.to
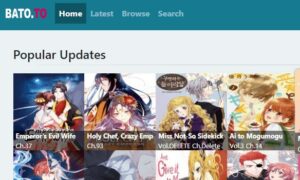
It is also possible to search for the most recent manga on Bata, as well as upload manga. This is another well-liked Japanese manga website. In order to access features like reading content, downloading manga, and uploading, you must register. You must also create chapters and series of files before adding any content.
25. NiAdd
There is a manga directory at NiAdd, an excellent replacement for global BookWalker that allows you to sort manga by release date, genre, status, and alphabetical order. Online sites can read manga for free. NiAdd also features original manga series and well-known videos, as well as the ability to update novels and manga.
Final Thoughts: BookWalker Alternatives
We believe that this list will undoubtedly assist you in selecting the best BookWalker alternatives. You can continue to enjoy reading manga on websites like BookWalker. If you’ve any comments or suggestions about these sites like BookWalker, please leave them in the comment section below.